How to Fix a Stuck Stroller Brake: A Parent's Step-by-Step Guide
- by WengGracy
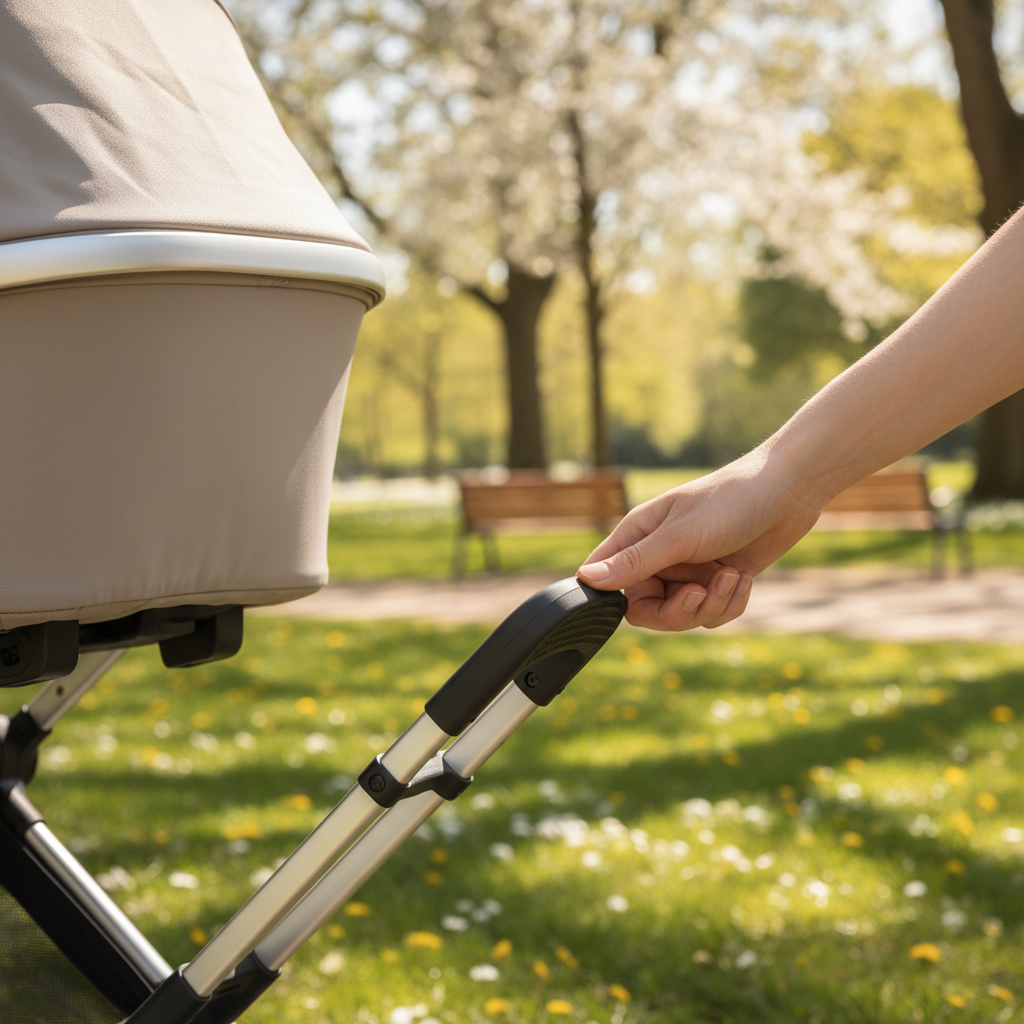
You're three blocks from home, your toddler is finally asleep, and suddenly your stroller brake stuck refuses to budge. The pedal won't lift. The wheels won't roll. Or worse — the brake won't lock at all, and you're standing on a gentle slope holding the handle for dear life. If this scenario sounds familiar, you're not alone. A stroller brake problem is one of the most common (and most stressful) baby gear malfunctions parents face, and almost every case has a fixable cause.
This Mamazing guide walks you through every common reason a stroller wheel lock stuck situation happens, how to fix stroller brake issues at home with safe, parent-tested methods, and when it's time to stop the DIY and call in help. No mechanical background required — just a few minutes, a toothbrush, and the right kind of lubricant.
Stroller brakes are simple by design: a foot pedal or hand lever drives a metal pin or bar into teeth on the rear axle, locking the wheel. When that mechanism stops working, the cause is almost always one of five things. Understanding which one you're dealing with saves you from forcing parts that shouldn't be forced.

Sand from the beach, mulch from the playground, small pebbles, hair, even thread from a stroller blanket — any of these can lodge between the brake teeth and the axle. Once jammed, the locking pin can't fully retract. Hair wrapped around the wheel axle is especially sneaky; it acts like its own brake band, gripping tighter every time the wheel turns.
Metal brake bars and springs corrode when stored damp. A garage that floods in spring, an uncovered porch in winter, or even a single rainy walk that wasn't dried off can start the process. Road salt is the worst offender — it accelerates corrosion on exposed metal, and stroller axles are exposed all winter long.
If your stroller has been dropped, kicked, or knocked into a curb, the brake bar can shift just enough that the locking pin no longer lines up with its catch. The brake feels stiff, mushy, or only locks one wheel — classic misalignment signs.
Joggers and premium strollers often use hand-lever brakes connected by a cable. Over time, that cable stretches, kinks, or loses tension. The adjuster nut at the lever may need a turn or two to restore proper engagement.
A blanket corner, the strap of an under-basket bag, or a snack pouch lid wedged into the brake linkage will silently stop the mechanism. This is the easiest fix — and the easiest cause to miss.
Before you touch the brake mechanism, pause for thirty seconds and do these four things. They protect your child, your stroller, and your fingers.
One more thing: if your stroller was purchased between 2020 and 2025, take a moment to check the CPSC recalls database for your specific model. Several major stroller brands have issued brake-related recalls in recent years, and you may qualify for a free repair or replacement.
Work through these steps in order. Most parents solve the problem by step three. Set aside about twenty minutes and grab the following supplies: an old toothbrush, a small flat-head screwdriver, a damp cloth, mild dish soap, small scissors, and silicone-based lubricant.

Flip the stroller onto its handlebar so the wheels face up. Look under the frame, in the under-basket, and around both rear wheels. Pull out anything that doesn't belong: a stray bag strap, a fallen toy, a granola bar wrapper, the corner of a blanket. You'd be shocked how often this is the entire problem.
With the stroller still inverted, use your toothbrush to clear visible grit from the axle teeth and the brake bar. A flat-head screwdriver can pry out compacted sand or mud. If you see hair or thread wrapped around the axle (extremely common in homes with long-haired pets or family members), gently cut it free with small scissors — do not pull, which can damage the bearing seal.
For fine sand and dust, a handheld vacuum or a quick blast of compressed air finishes the job. This step alone resolves the stroller brake stuck after beach scenario for most parents.
Dampen a cloth with warm water and a drop of mild dish soap. Wipe down the brake bar, the locking pin area, and the axle hub. Do not saturate sealed bearings or pour water into the mechanism — moisture is what got you here. Dry everything thoroughly with a clean towel. For a deeper reset that goes beyond the brake area, follow our deep-clean guide for stroller fabric, wheels, and frame to keep the rest of the stroller in equally good shape.
| Situation | Cleaning Action |
|---|---|
| After beach trip | Rinse sand from wheels, dry fully before storage |
| After winter walk | Wipe white salt crust off brake bar before it corrodes |
| After muddy trail | Hose wheels (not bearings), towel dry, air dry overnight |
| After rainy commute | Towel dry wheels and frame, leave open to air |
This is where most parents go wrong. The correct product is a silicone-based lubricant or a dry PTFE lubricant. Avoid WD-40 (it's a water displacer, not a true lubricant, and it attracts dust) and avoid heavy greases (they collect debris). Spray a small amount onto the brake joints, pivot points, and locking pin. Wipe away excess. Never spray lubricant on disc brakes if you have a jogging stroller, and keep it off fabric and seat liners.
Engage and release the brake five or six times to work the lubricant into the mechanism. You should feel the action smooth out almost immediately.
For foot brakes: look straight down at both rear wheels and confirm the brake bar lines up with the locking catches on each side. If one side sits higher than the other, the bar may have shifted and need to be tapped gently back into place.
For lever or cable brakes: find the adjuster nut where the cable enters the lever housing. Turn it clockwise to increase tension, counterclockwise to release. Test after each quarter-turn. If the cable is visibly kinked, frayed, or rusted through, it needs replacement — contact the manufacturer or take it to a local bike shop, which can often source a compatible cable.
Stand the stroller upright on flat ground. Engage the brake and try to push it forward — it should not budge an inch. Now try the same test on a gentle slope: lock the brake and let go. The stroller must stay completely still. Both rear wheels must lock at the same time, and the pedal or lever should feel firm, never mushy.
Safety tip: If only one wheel locks after you've completed all six steps, or if the brake still feels mushy, stop using the stroller. A partially functioning brake is not a safe brake. Have a professional or the manufacturer inspect it before your next outing.Some fixes belong in a workshop, not on your kitchen floor. Stop the DIY and escalate if you notice any of these red flags:
Your first call should be the manufacturer. Many cover brake components under warranty, and several leading brands will ship replacement parts at no charge if your stroller is under three years old. Keep your serial number handy — it's usually printed on a sticker under the seat or on the frame.
If your stroller is out of warranty, a local bike shop is often the next-best stop. Stroller axles, brake cables, and locking pins frequently use standard bicycle components, and a fifteen-minute repair from a bike mechanic can give your stroller years of additional life. According to the U.S. Consumer Product Safety Commission, prompt repair of brake mechanisms is essential to preventing rollaway incidents, which remain a leading source of stroller-related injuries.
Sometimes a stuck brake is not the problem — it's the symptom. If your stroller checks any of the boxes below, repair is no longer the right answer.
When you're ready to upgrade, look for models that offer dual-wheel rear brakes, one-touch engagement, sealed bearings that resist sand and salt, and frames built to support outdoor terrain without flexing. Our buyer's guide to stroller safety features in foldable strollers walks through every brake, harness, and chassis spec worth checking before you commit. If your stroller's brake cannot be saved, it may be time to start fresh — explore our best baby stroller collection below to find safer, parent-friendly models built with reliable, easy-to-engage parking brakes.
The good news? Almost every stroller brake problem is preventable with a few minutes of monthly maintenance. Build the following routine into your baby gear care, and you'll likely never see a stuck brake again.
For a complete head-to-wheel check that catches brake issues before they turn into mid-walk emergencies, work through our monthly foldable stroller maintenance checklist — the brake test below fits neatly inside that broader routine.
Store your stroller indoors when possible, or under a weather cover if it must live outside. Apply a small amount of silicone lubricant to the brake joints every two to three months. Skip the heavy greases — they trap dust and make the next cleanup much harder.
Seasonal callout: Coming out of winter storage? Always test your brakes on flat ground before your first spring walk. Rust and dried grit from the previous season are the leading cause of a stroller brake stuck situation right after winter ends.The most common causes are debris (sand, grit, hair) clogging the brake mechanism, rust from moisture exposure, or a misaligned brake bar. Start by cleaning the axle and brake teeth, then apply a silicone lubricant and test both rear wheels. If the brake still won't release, check for fabric or bag straps tangled in the linkage.
No. A stroller with a non-functional brake should never be used until repaired. Even on a gentle slope, an unbraked stroller can accelerate quickly and cause serious injury. The American Academy of Pediatrics' HealthyChildren home safety guidance recommends always testing safety equipment, including stroller brakes, before each use.
A silicone-based lubricant or a dry PTFE lubricant is best. Avoid WD-40 — it evaporates quickly, attracts dirt, and can degrade rubber parts. Avoid heavy automotive grease, which collects debris and clogs the mechanism. Never apply any lubricant to disc brakes on jogging strollers.
Check the brake teeth and locking pin for debris first — they often can't slot together when grit is in the way. For cable-operated brakes, the cable may have stretched; use the adjuster nut to add tension a quarter-turn at a time. If the cable is kinked or frayed, it needs replacement before the stroller is safe to use again.
Sand is the most common cause of beach-related brake jams. Brush and rinse sand off the axle, brake teeth, and wheel hubs with fresh water. Allow the stroller to dry completely, then apply a small amount of silicone lubricant to the brake joints. Test the brake on flat ground before your next walk.
WD-40 is not recommended for stroller brakes. It is a water displacer, not a long-term lubricant. It can degrade rubber components, attracts more dust over time, and will leave you with a stickier mechanism a few weeks later. A silicone spray or dry lubricant lasts much longer and is safer for plastic parts.
Replace if the stroller frame is structurally damaged, if brake parts are no longer available or out of warranty, or if the stroller has shown multiple mechanical failures recently. A safe stroller is a non-negotiable for daily use — when in doubt, choose a replacement built with reliable, modern brake hardware.
Do a quick brake test before every single use — it takes only a few seconds. Perform a thorough clean, lubricate, and test routine every one to three months, and always after extended outdoor use at the beach, on dirt trails, or in winter conditions with road salt.
Yes. Both rear wheels should lock simultaneously when the brake is engaged. Single-wheel locking means one side of the mechanism is blocked, misaligned, or damaged. Clean and inspect both sides of the axle. If the issue continues after a thorough cleaning, contact the manufacturer — this is often covered under warranty.
A stroller brake stuck on you mid-walk is frustrating, but it's rarely the end of your stroller. Most fixes take twenty minutes, a toothbrush, and the right silicone lubricant. The real lesson is prevention: rinse after the beach, wipe after winter, lubricate every few months, and test before every walk. Your stroller — and your back — will thank you.
And when repair is no longer the safe choice, choose a replacement that takes brake reliability seriously. Mamazing designs strollers with parents in mind: sealed bearings that shrug off sand and salt, dual-wheel parking brakes that engage with a single tap, and frames built to handle real-world terrain. Browse the Mamazing baby stroller collection above to find a stroller you'll trust on every walk, every season, for years to come.
Featured Products


Can You Store a Stroller in a Garage or Outside?
How to Fix Squeaky Stroller Wheels: A Complete Parent's Guide